Profile Launch
Please read the Terms of Use for this resource.
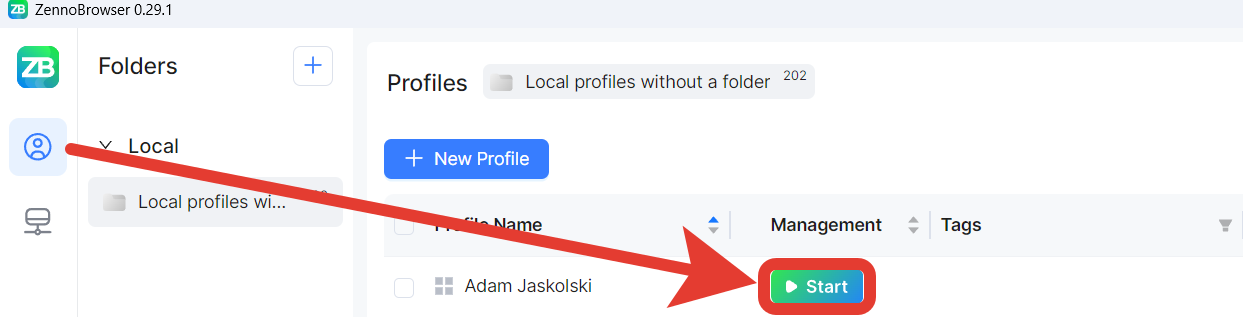
Profile Launch
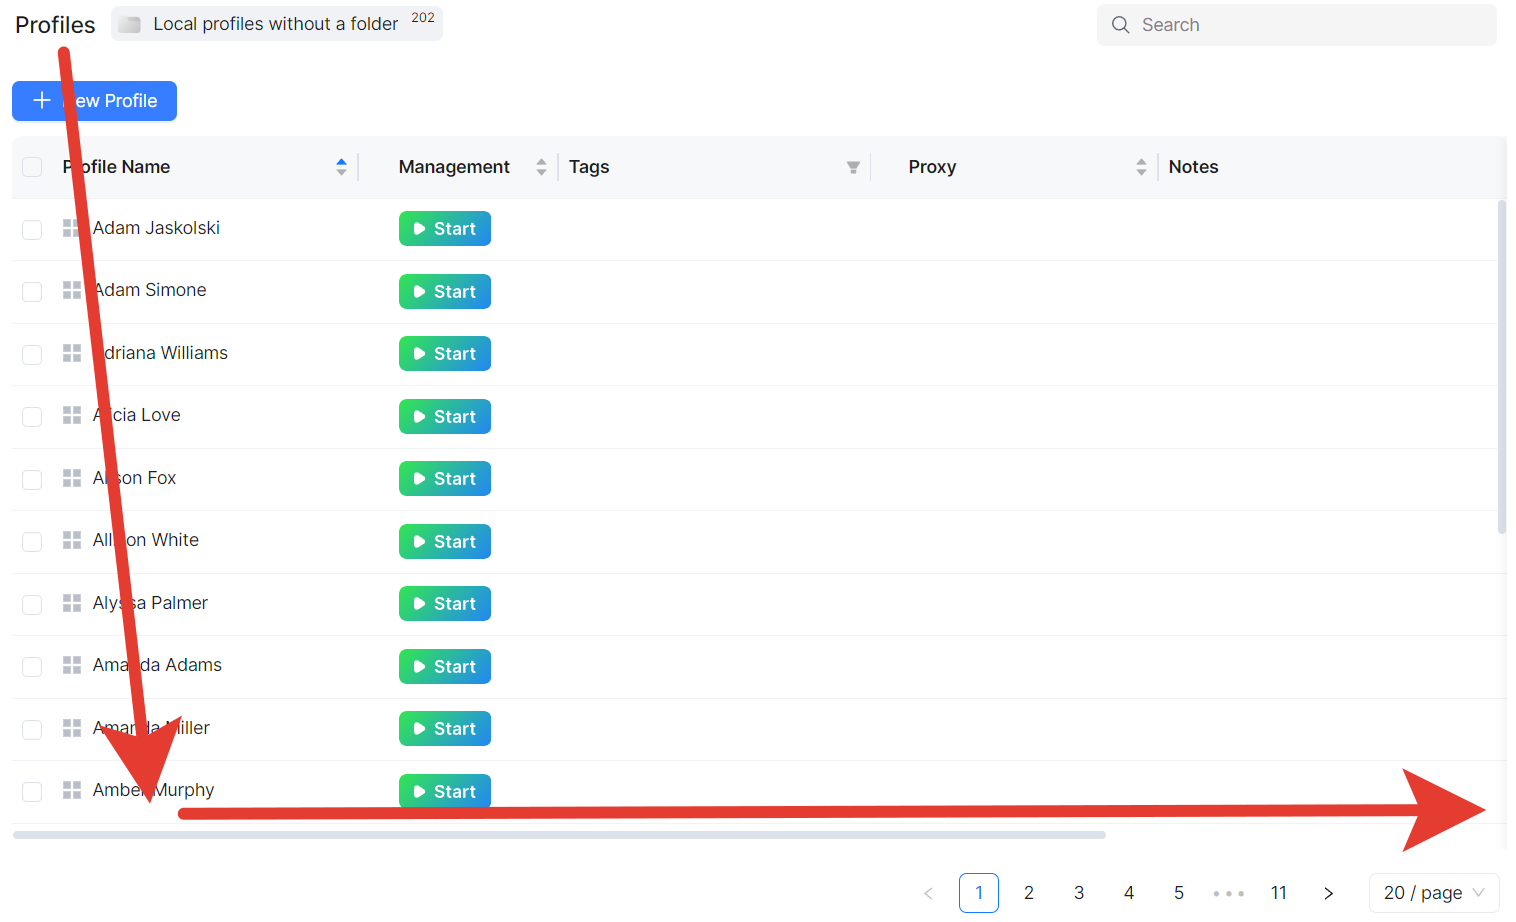
- Find the profile you created in the folder.
- Use the controls in the "Manage" column.
- Click the profile launch button.
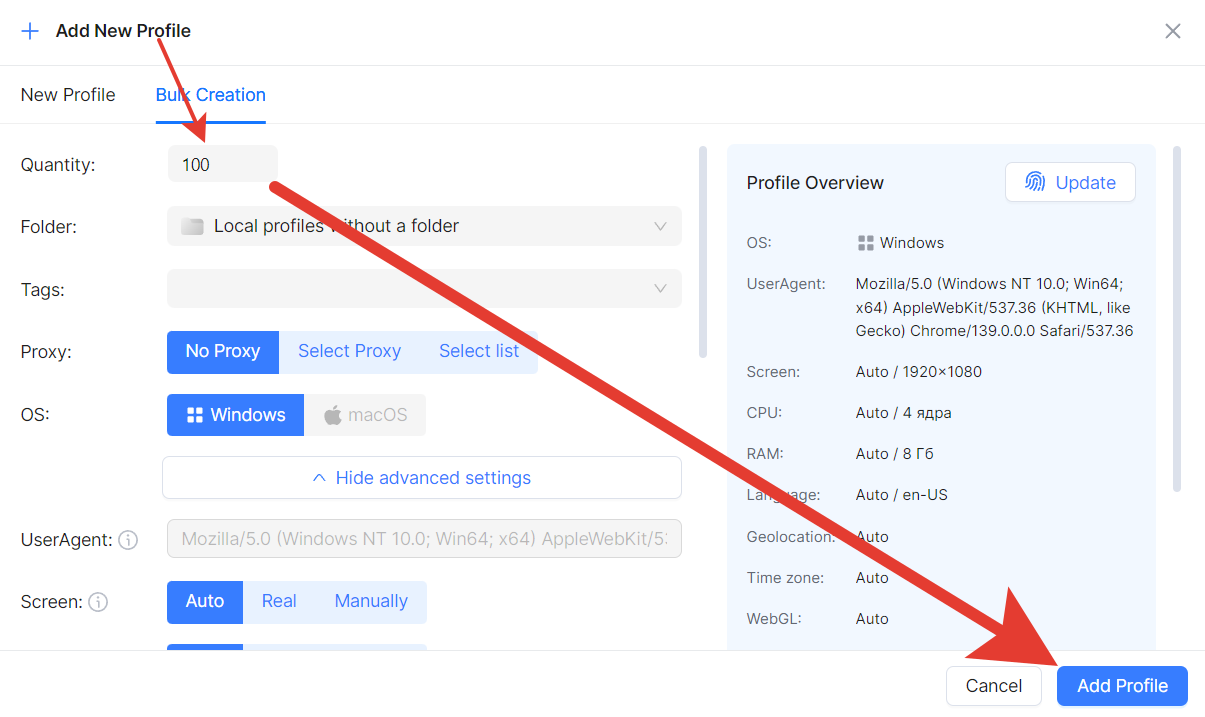
Bulk Operations (for advanced users)
- Creating multiple profiles:
- Select "Bulk Profile Creation".
- Specify the quantity (up to 1000 profiles).
- Set up parameters for all profiles at once.
- Choose the proxy usage mode.
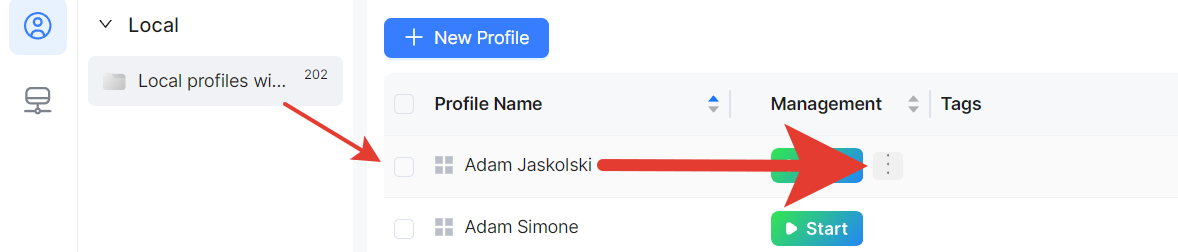
Managing a Profile Group:
- Use checkboxes to select multiple profiles.
- Perform bulk actions:
- Start/stop profiles;
- Replace proxies;
- Move to folders;
- Manage tags;
- Export cookies.
Useful Interface Features
Navigation and Search:
- Search — by profile name and ID;
- Sorting — by any table column;
- Filtering — use tags for quick search;
- Folders — organize profiles.
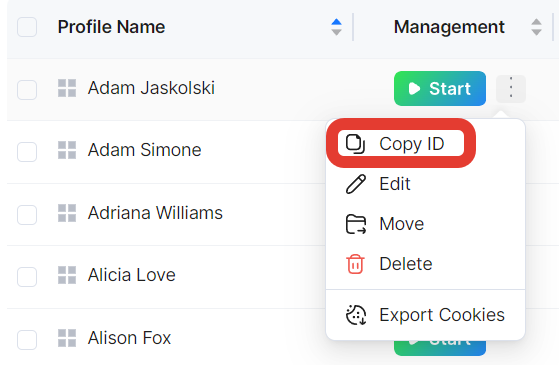
The profile ID is needed to work in integration mode with ZennoPoster. To get it, in ZennoBrowser, hover over the desired profile, click the three dots in the “Manage” column, and select “Copy ID”:
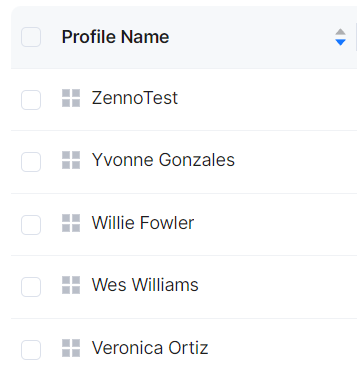
Sorting allows you to arrange the list in any format you find convenient:
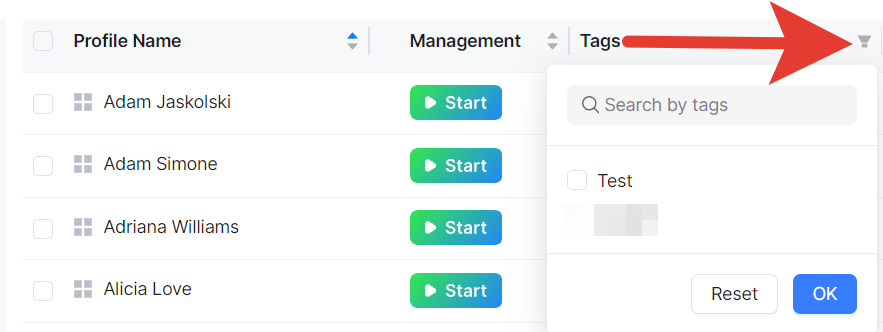
Quick tag search works by clicking the filter icon in the upper right corner of the field:
Folders allow you to store profiles in a localized way:

Display:
- Up to 1000 profiles per page (Profile Manager);
- Up to 1000 proxies per page (Proxy Manager);
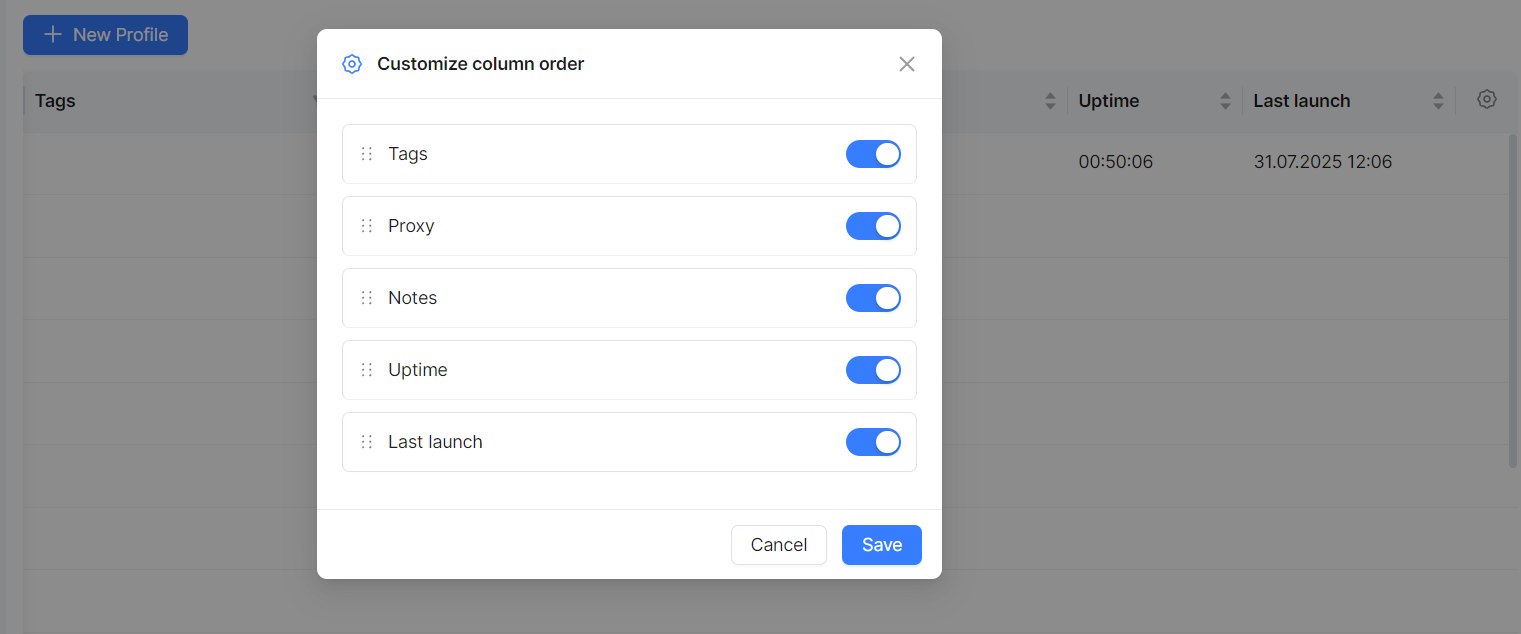
- Customizable table columns;
- Hide unnecessary columns.
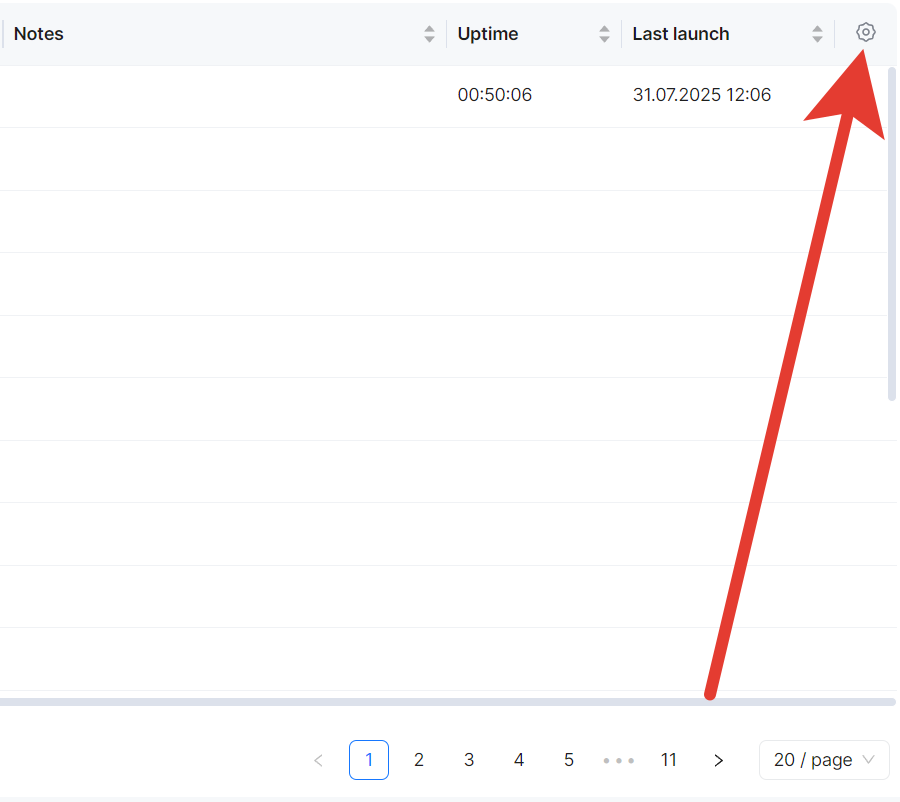
To arrange columns, scroll to the right using the scrollbar, click the gear icon, and set the desired display options:
Recommendations
💡 Tip: For effective work, we recommend using our ZennoProxy service.
For beginners:
- Start by creating 1-2 profiles for testing.
- Use local profiles at first.
- Create folders to organize your profiles.
- Add meaningful names and tags.
For advanced users:
- Use cloud profiles for synchronization.
- Set up proxy lists by region/purpose.
- Apply bulk operations for efficiency.
- Regularly check proxy performance.